Last Updated November 9, 2011
You can create a terrain mesh using a heightmap.
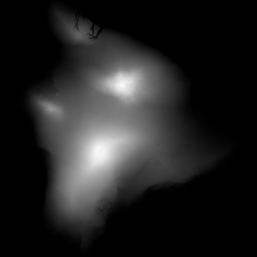
The terrain is created by using a regular grid of points laid on the x-z plane. The x & z coordinates of this grid follow a regular pattern like the vertices of a chess board. The y-coord from each point is taken from a heightmap. The heightmap is an image file, each pixel in the image represents one of the points on our grid. The height of the point (y-coord) is represented by the colour of the pixel. Below is a height map of one of the Hawaiian Islands. The bright areas represent high ground.
The height map is loaded as an image (texture)and the pixel data used to modulate vertex coordinates .
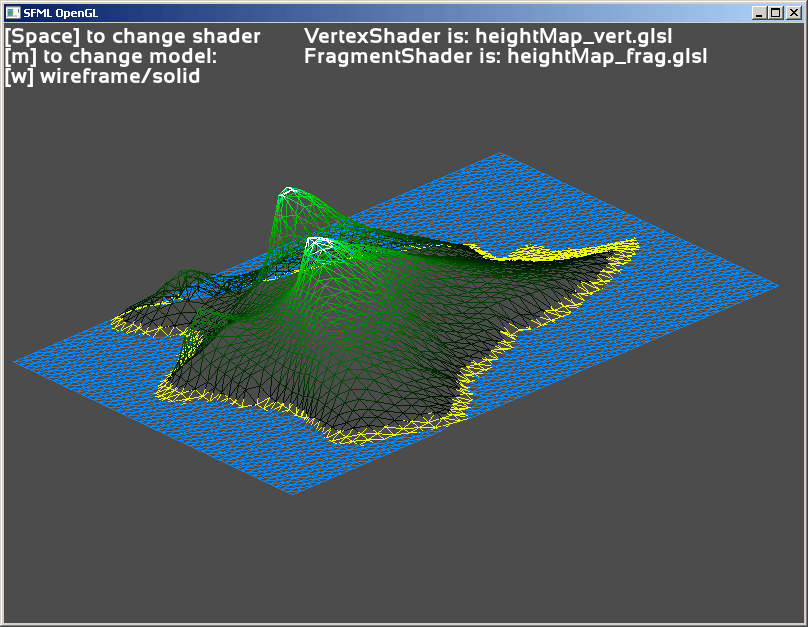
In order for this terrain to be correctly rendered with lighting, each vertex needs a normal. A normal for a vertex is found by averaging the normals for the neighbouring triangles.
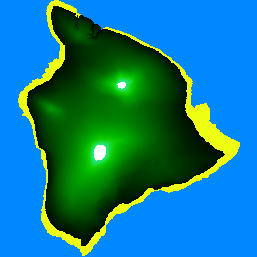
To add realisim we can add a texture to the terrain (this will usually be a different texture to the height map). In this case I have created a texture which will show the zero height areas as blue (sea), low-lying areas as yellow (beach), and mountain tops as white (snow). This texture need to be correctly aligned in order to work. (The texture was created from the original heightmap + some simple photoshop manipulation)
© Ken Power 1996-2016