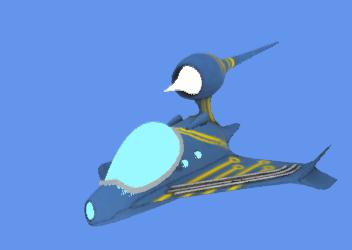
		Model ship;
        Matrix view, world, proj;
ship=Content.Load<Model>("p1_wedge");
			  view = Matrix.CreateLookAt(new Vector3(0, 10, 5000), Vector3.Zero, Vector3.Up);
            proj = Matrix.CreatePerspectiveFieldOfView((float)Math.PI / 4.0f,
                (float)graphics.GraphicsDevice.Viewport.Width / (float)graphics.GraphicsDevice.Viewport.Height,
                0.1f,
                100000);
            world = Matrix.CreateTranslation(Vector3.Zero);


            foreach (ModelMesh mesh in ship.Meshes)
            {
                foreach (BasicEffect effect in mesh.Effects)
                {
                    //Effect Settings Goes here
                    effect.LightingEnabled = false;
                    effect.World = world;
                    effect.Projection = proj;
                    effect.View = view;
                }
                mesh.Draw();
            }
The world matrix in the above example is used to control the position of the object on screen. We can modify this matrix to move the object around. Read this page to get an overview of the various math utility classes available in XNA
The keyboard can be interrogated with the following code;
			  // this code is normally found in Update(...)
			  KeyboardState ks=Keyboard.GetState();


            if (ks.IsKeyDown(Keys.Left)){// check if left key is pressed
					...
			  }
The position and orientation of the model is determined by the world matrix. In this example, world is assigned a translation matrix of zero displacement (this code is taken from the example above).
world = Matrix.CreateTranslation(Vector3.Zero);
In this example, world is assigned a translation matrix 5 units along the x-axis
world = Matrix.CreateTranslation(5,0,0);
Models can be rotated, this example rotates i radians about the Y axis (use MathHelper to convert from deg to rad);
world = Matrix.CreateRotationY(i);
Model transformations can be combined by multiplication. As always, the ORDER of the matrix multiplication has a major impact on the effect.
world = Matrix.CreateTranslation(4,2,1) * Matrix.CreateRotationY(i);


//or equivalently
world = Matrix.CreateTranslation(4,2,1);
world *= Matrix.CreateRotationY(i);